Home studios have become more relevant than ever, fueled by the surge in remote work, content creation, and small business product photography.
More people are discovering that high-quality visuals are not reserved for large commercial spaces or expensive equipment.
Professional results can be achieved with a thoughtful approach, even in modest settings.
A photography setup that delivers strong results without straining finances is entirely possible with the right planning.
Space efficiency, resourcefulness, and creativity work hand in hand to make this happen.
The goal here is simple: outline a practical and affordable method for creating a home studio that anyone can replicate.
Planning Your Space
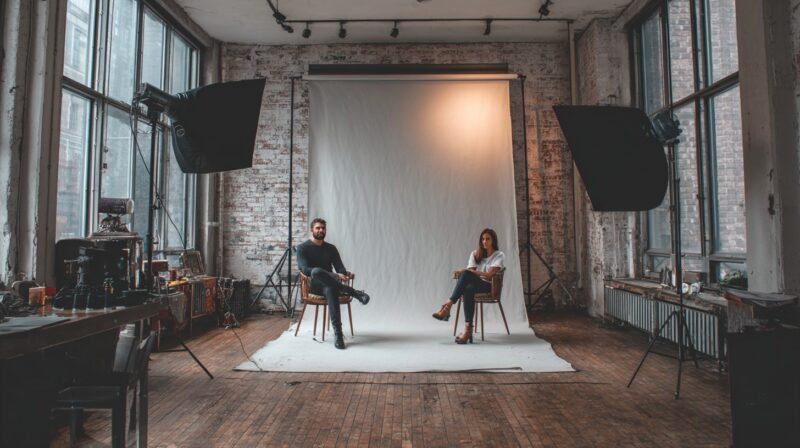
Large rooms offer greater flexibility, as more space allows better control over lighting and movement.
For those in smaller homes, a spare bedroom, an unused corner, or even a section of the living room can be transformed into a working studio with minimal adjustments.
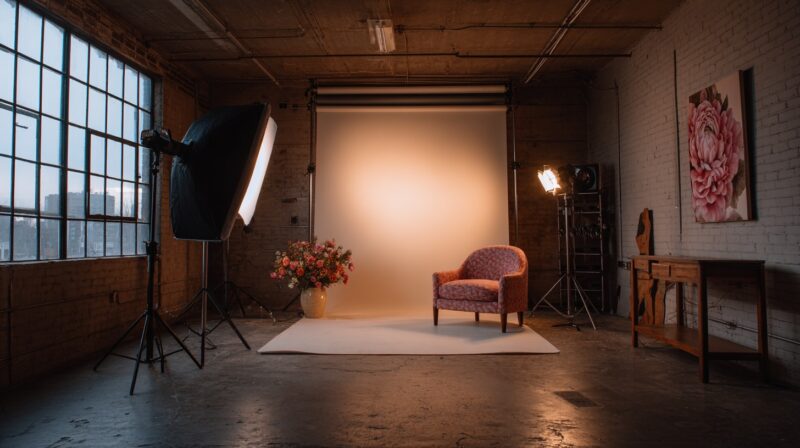
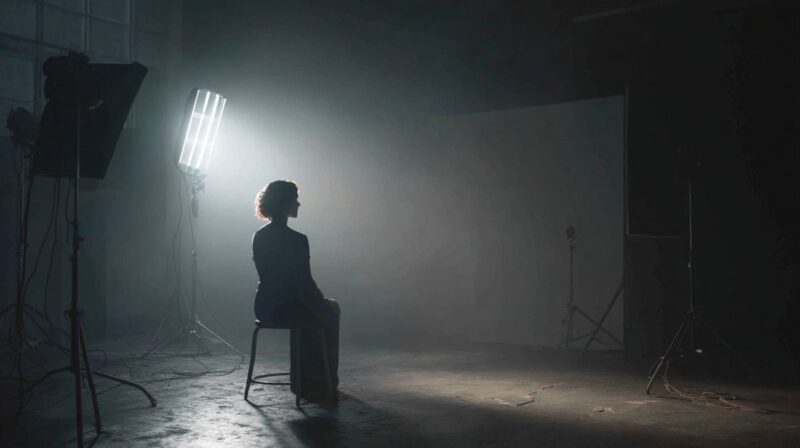
Lighting plays a major role in the overall quality of photographs.
Natural light is often the most affordable and flattering option, especially when using large windows during early or late hours of the day to avoid harsh midday sun.
Room size also affects light control; smaller rooms may require additional reflectors or light diffusers to achieve even coverage.
Comfort and workflow should not be overlooked. A well-organized setup will save time during shoots and reduce unnecessary clutter.
Allowing space for a model changing area or a simple privacy screen adds professionalism and convenience.
Key considerations when planning your space include:
- Select the largest available room for flexibility.
- Repurposing unused spaces like corners or bedrooms, if working with limited square footage.
- Maximizing natural light through windows while managing glare.
- Creating a model changing area for client comfort.
- Arranging equipment to maintain an efficient and uncluttered workspace.
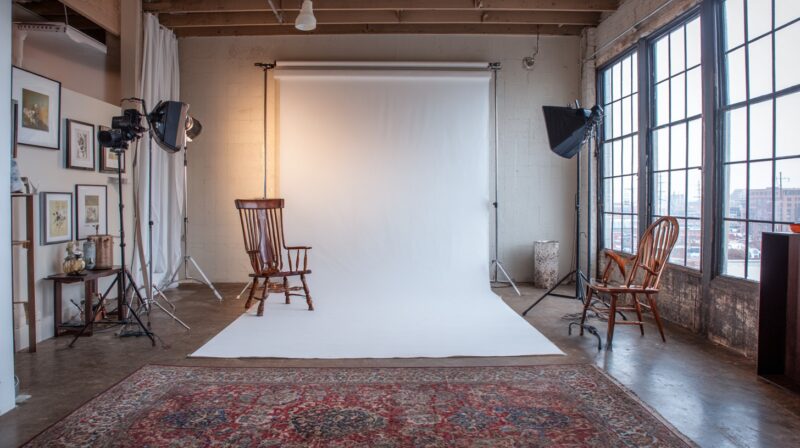
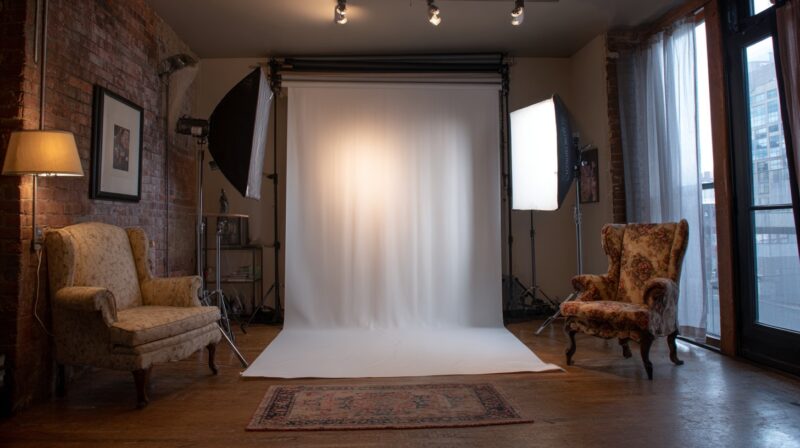
Backdrops on a Budget
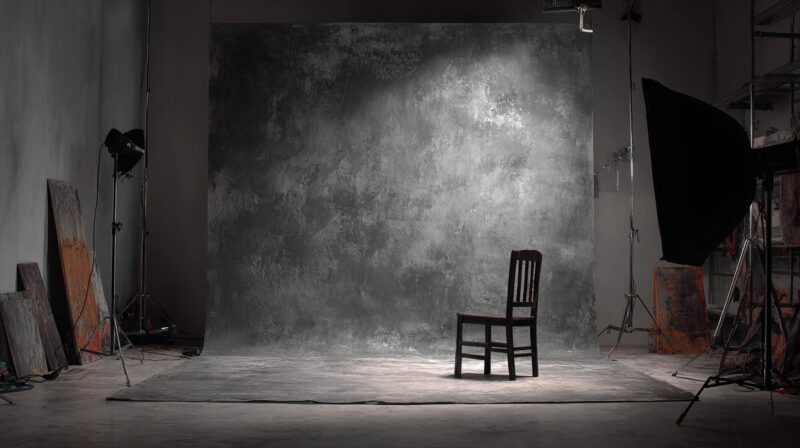
Plain white walls, especially when painted with matte finish, can work as a free option. These provide a clean look and require minimal setup.
Affordable alternatives such as fabric sheets or muslin cloth are popular, though they can develop wrinkles that need ironing or steaming before use.
Seamless paper rolls are another cost-friendly choice, offering a smooth surface without creases. Damaged or dirty sections can be torn off and replaced quickly.
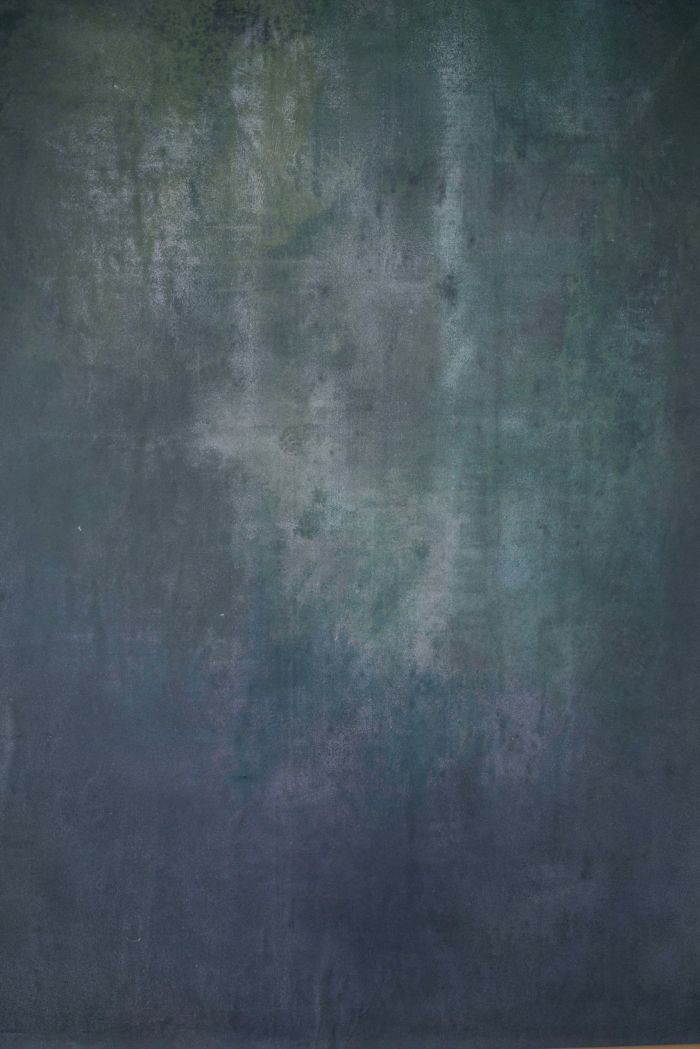
Creative do-it-yourself options can give images more personality. Painted canvases, textured boards, or even wallpapered panels add depth and interest.
PVC piping or curtain rods from budget-friendly stores like IKEA can serve as sturdy backdrop holders.
Creative do-it-yourself options can give images more personality. Painted canvases, textured boards, hand-painted photography backdrops, or even wallpapered panels add depth and interest.
Choosing the right size matters, especially in smaller rooms.
Compact “car size” rolls at around 2.08 meters are easier to store and set up while still accommodating most portraits and product shots.
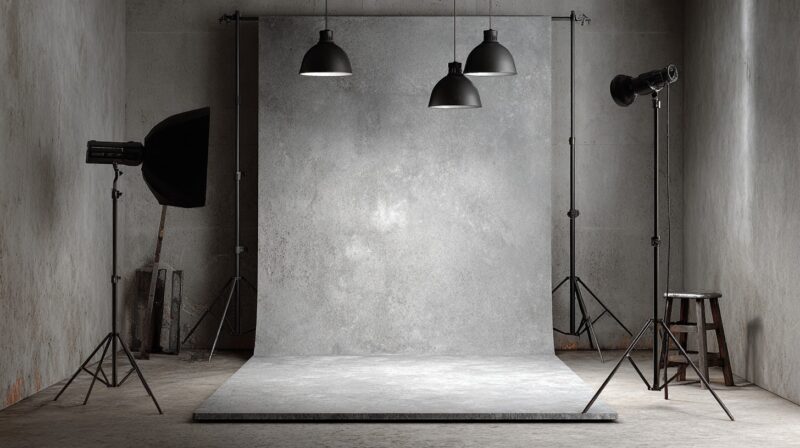
Lighting Setup
When it comes down to lighting, natural light is the most affordable option, and large windows can create beautiful, soft illumination when paired with a diffuser such as a white sheet or reflector.
For greater control, heavy black cloth can be used to block or shape the light.
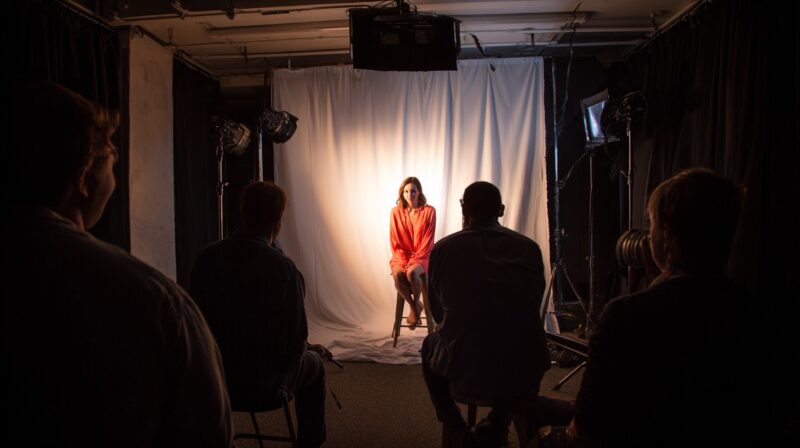
Artificial lighting becomes essential when shooting at night or in rooms without adequate daylight.
Continuous lighting is beginner-friendly because it allows photographers to see how the light falls in real-time, making adjustments easier.
Flash or strobe lighting offers more power and the ability to freeze motion, which is especially useful for portraits or action shots.
Budget options such as Godox continuous lights or entry-level strobes can deliver solid results without high costs. Modifiers are equally important, shaping and softening light for better image quality.
Umbrellas, softboxes, and reflectors are widely available in affordable versions, or they can be created from household items.
Round modifiers are often preferred for their ability to create natural-looking catchlights in the eyes.
Essential Equipment
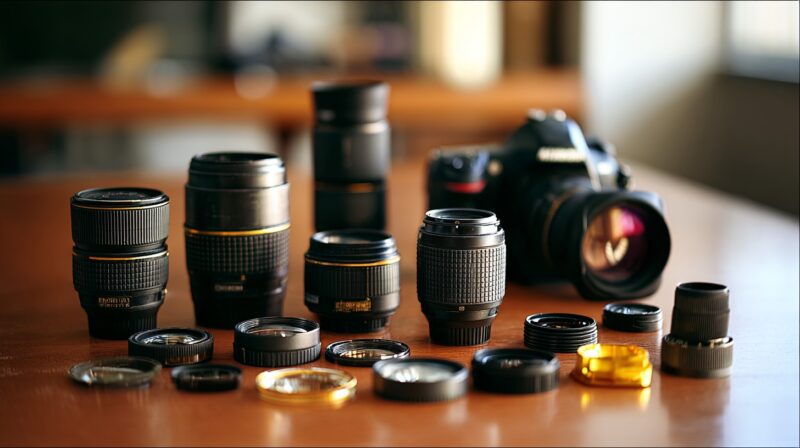
The camera you already own is often enough to start, whether it’s a DSLR or a mirrorless model.
Pair it with a versatile lens that suits your usual subjects. A reliable tripod comes next, as stability is crucial for sharp images, especially in low-light situations.
Light stands should be sturdy enough to handle the weight of your chosen lights.
A tether cable can be a game changer, allowing instant image review on a laptop or tablet, which is particularly useful when working with clients.
Smaller accessories might seem insignificant, but often make the workflow smoother, clamps for securing backdrops, gaffer or painter’s tape for quick fixes, a stool for seated portraits, and a small table for props.
Think of it as a personal starter kit: a capable camera, solid tripod, dependable light stands, a tethering option for instant feedback, and those small but mighty accessories that keep shoots running efficiently.
Investing in these essentials first ensures a smooth working process without overspending on non-essentials.
Cost-Saving Hacks
Stretching a budget while setting up a home studio is all about knowing where to cut costs without losing quality.
Some of the most effective strategies are surprisingly simple and can be applied immediately.
Here are a few worth noting:
- Buy second-hand gear through local marketplaces or camera store trade-ins.
- Rent equipment only when a project truly requires it.
- Use multi-purpose tools such as reflectors that double as diffusers.
- Protect seamless paper rolls with the “shoe tape trick” to prevent dirt marks.
- Experiment with pocket-sized RGB lights for creative effects without heavy investment.
These methods keep expenses under control while still allowing for professional-level results.
Over time, savings from these small adjustments can be redirected into upgrading critical parts of the studio.
Scaling Up Over Time
A photography studio doesn’t need to be built in a single shopping trip. Starting small and expanding as skills, needs, and income grow is a more sustainable approach.
Begin with the absolute essentials:
- One light
- One modifier
- One backdrop
Once the basics feel comfortable, move toward gradual improvements. A larger softbox can improve light control, while an extra backdrop color can give clients or projects more variety.
Additional lights open creative possibilities such as rim lighting or complex multi-point setups.
As the studio becomes more active, it makes sense to invest in sturdier equipment.
Quality light stands reduce the risk of accidents, and professional-grade modifiers create more consistent results. Upgrading tethering gear can also speed up workflow, especially in client-driven sessions.
Growth roadmap:
- Start: one light, one modifier, one backdrop.
- Next step: add larger modifiers and more backdrop colors.
- Expansion: introduce extra lights for complex setups.
- Upgrade: pro-level stands, advanced softboxes, and improved tethering gear.
Building gradually allows skill development to match the gear investment, ensuring each purchase brings real value.
As new gear and techniques are added, sharing updated work on social media can showcase progress to potential clients.
Consistent online presence helps establish a personal brand, turning your home studio into both a creative and promotional hub.
Summary
Creating a home photography studio on a budget is less about spending big and more about using space, light, and creativity wisely.
Starting with a small, functional setup and improving it step by step ensures every piece of gear is used to its full potential.
Patience plays a big role in building both skills and equipment collections.
Experimenting with light, angles, and backgrounds will often matter more than owning top-tier gear.
Adapting ideas to fit personal space and style keeps the process practical and enjoyable.